Judul : How to edit a picture black and white with color
link : How to edit a picture black and white with color
How to edit a picture black and white with color
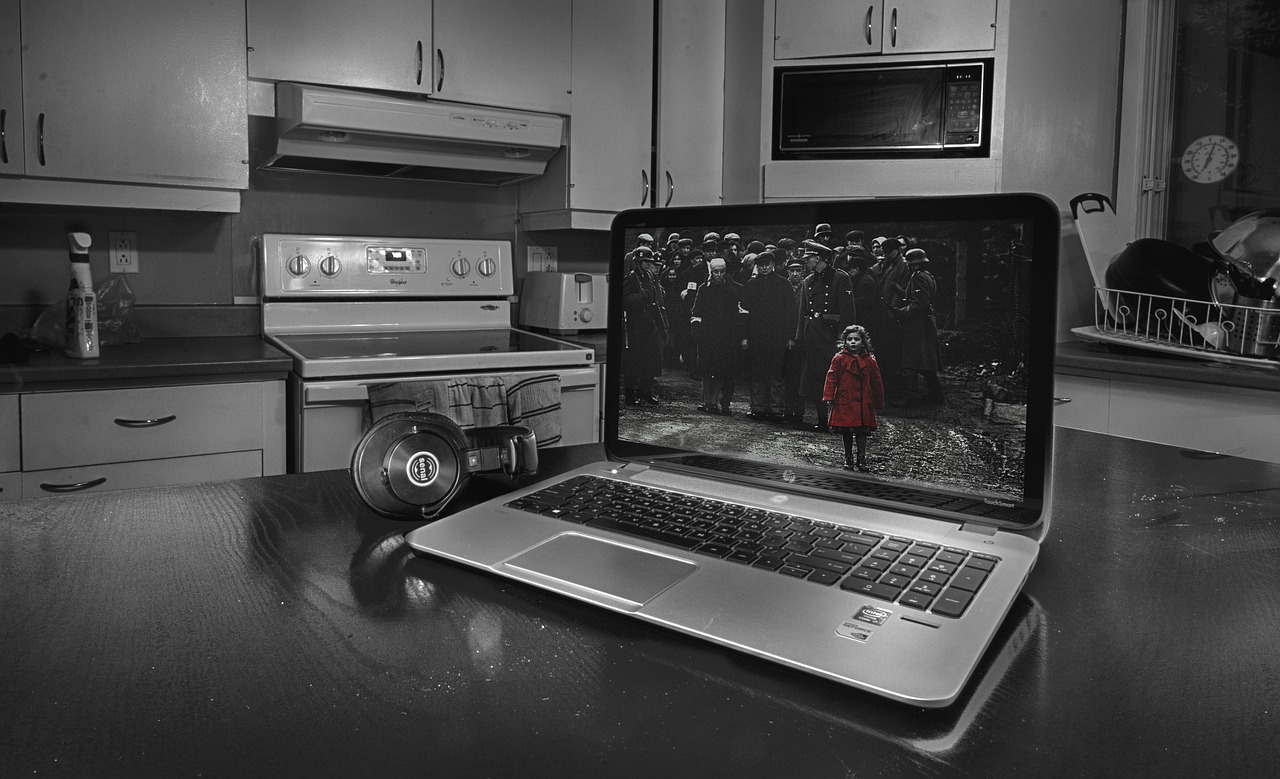
Creating a selective color photograph—where the image is black and white but one specific object remains in full color—is a classic editing technique. It is a powerful way to draw the viewer's eye exactly where you want it, creating a striking contrast that makes your photos stand out on social media or in a professional portfolio.
Why Use Selective Color Editing?
Selective color is more than just a stylistic choice; it is a visual storytelling tool. By removing the distraction of a busy, colorful background, you emphasize the subject. Whether it is a bright red umbrella in a rainy city or the vibrant petals of a single flower in a field, this technique highlights details that might otherwise go unnoticed.
Choosing the Right Photo
Not every photo works well with this effect. To achieve the best results, look for images that have:
- A clear, distinct subject.
- High contrast between the subject and the background.
- A subject with a bold, saturated color.
- A background that is relatively neutral or contains colors that won't compete with your focal point.
Methods to Edit Your Photo
There are several ways to achieve this look, ranging from mobile apps to professional desktop software. Here is a breakdown of how the process generally works regardless of the tool you use.
Using Mobile Apps
If you are editing on the go, apps like Snapseed or Lightroom Mobile are excellent choices. Most of these apps use a "Selective" or "Brush" tool. You typically convert the entire image to black and white first, then use a "Desaturate" or "Color" brush to paint the original color back onto the specific area you want to highlight.
Using Desktop Software
For more precision, software like Adobe Photoshop or GIMP is ideal. In these programs, you use layer masks. You keep a color version of the photo as the bottom layer and a black and white version on top. By using a soft brush on the layer mask, you can "reveal" the color from the layer below, allowing for incredibly precise edges.
Comparison of Editing Approaches
| Method | Ease of Use | Precision | Best For |
|---|---|---|---|
| Mobile Apps | High | Moderate | Social media and quick edits |
| Desktop Software | Moderate | Very High | Professional prints and detailed work |
| Online Editors | High | Low | Beginners without software |
Tips for a Natural Look
The biggest mistake beginners make is being too messy with the edges. If your color bleed extends into the background, the image will look amateurish. Here are a few tips to keep your edits clean:
- Zoom in close: Don't try to edit from a distance. Zooming in allows you to follow the edges of your subject carefully.
- Use a soft brush: A soft-edged brush helps blend the transition between the colored subject and the monochrome background.
- Adjust the opacity: If the color looks too intense, slightly lower the saturation of the colored part so it harmonizes better with the black and white elements.
- Keep it simple: Don't try to colorize too many objects. Usually, one or two focal points are enough to make a strong impact.
Frequently Asked Questions
Can I apply this effect to video?
Yes, many video editing software programs allow for "color isolation" or "secondary color correction," which can track an object's color throughout a video clip.
Is it better to shoot in black and white?
Always shoot in color (RAW format if possible). You can easily convert to black and white in post-production, but you cannot add color back into a photo that was captured as a grayscale image.
What if my subject has the same color as the background?
If your subject shares colors with the background, it will be very difficult to isolate. In this case, you may need to use a selection tool or a pen tool to manually cut out the subject rather than using a simple color-brush tool.
Conclusion
Editing a picture to be black and white with a splash of color is a fantastic way to sharpen your photo editing skills while creating compelling, artistic images. By focusing on high-contrast subjects and taking your time with the edges, you can transform ordinary snapshots into professional-looking pieces of art. Experiment with different subjects and software to find the workflow that works best for your creative style.


